Click here to watch the video (only available in French).
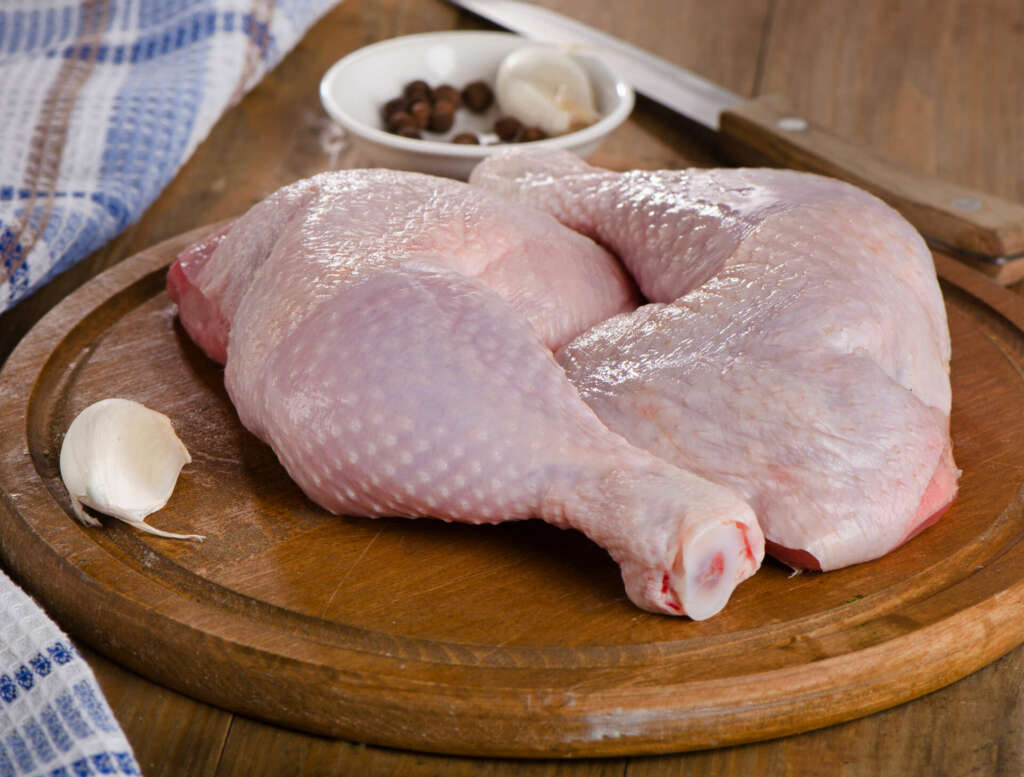
Chicken is a tender meat that children love. At the grocery store, the most low-cost cuts still have the skin and bones and therefore need more preparation at home. So, to save money, it’s better to buy thighs rather than deboned breasts.
Here are two techniques for cooking these affordable cuts of chicken:
1. Cook in the oven
Make oven-baked chicken in three easy steps.
-
Step 1
Preheat the oven to 400°F (200°C).
-
Step 2
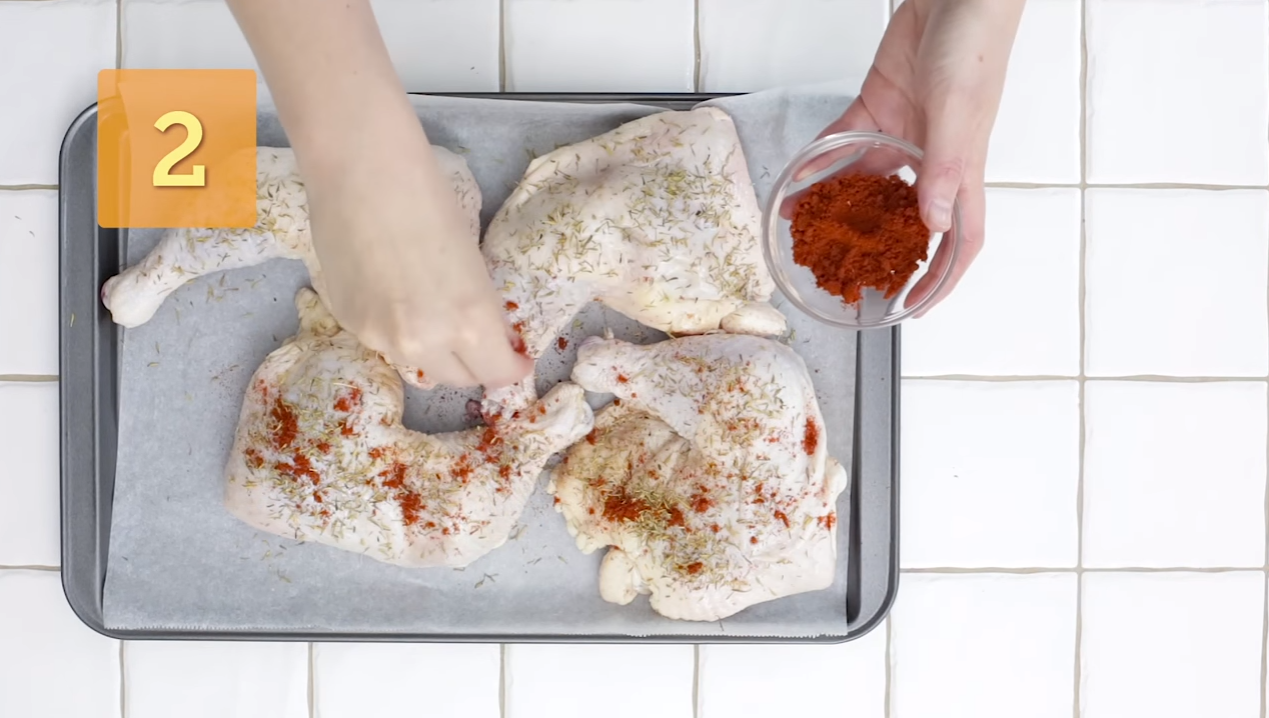
Place the chicken thighs on a baking sheet covered in parchment paper to keep them from sticking. To add flavour, coat the skin in various seasonings, like paprika or thyme.
For less fatty chicken, remove the skin and season the meat directly. Place on the centre rack in the oven and cook for at least 1 hour.
-
Step 3
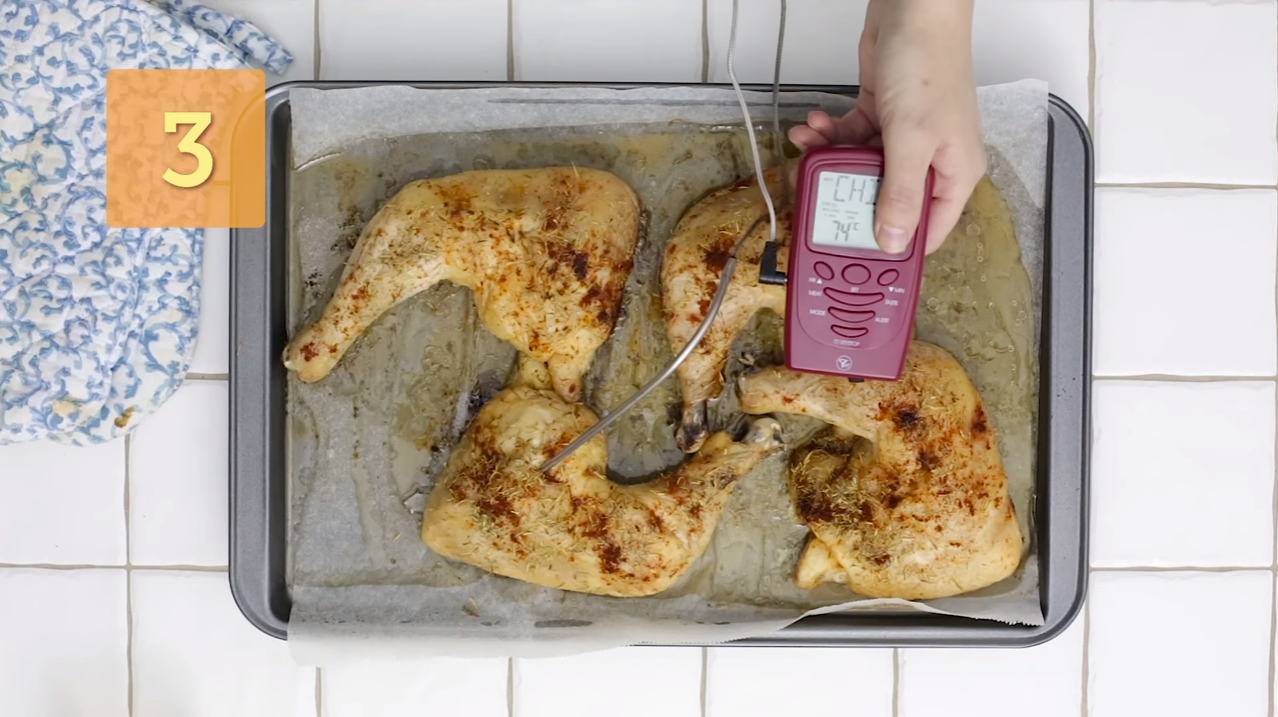
Make sure the chicken is cooked through.
The best way to know if the chicken is well cooked is to use a meat thermometer. The internal temperature must reach 165°F (74°C). This way, you’ll be sure that all bacteria has been destroyed.
You can also tell by looking at the meat. It should come apart easily, have a nice white colour and the juice should be clear. If so, your chicken is ready to eat!
Did you know that if you keep the chicken bones, you can make your own chicken stock? Just simmer the bones in a pot filled with water for at least 1 hour. Then remove the bones and strain the broth. It’s a simple, economical way to use every part of the chicken!
2. Boil
Another cooking technique is boiling low-cost cuts of chicken. Here’s how, in 3 easy steps:
-
Step 1
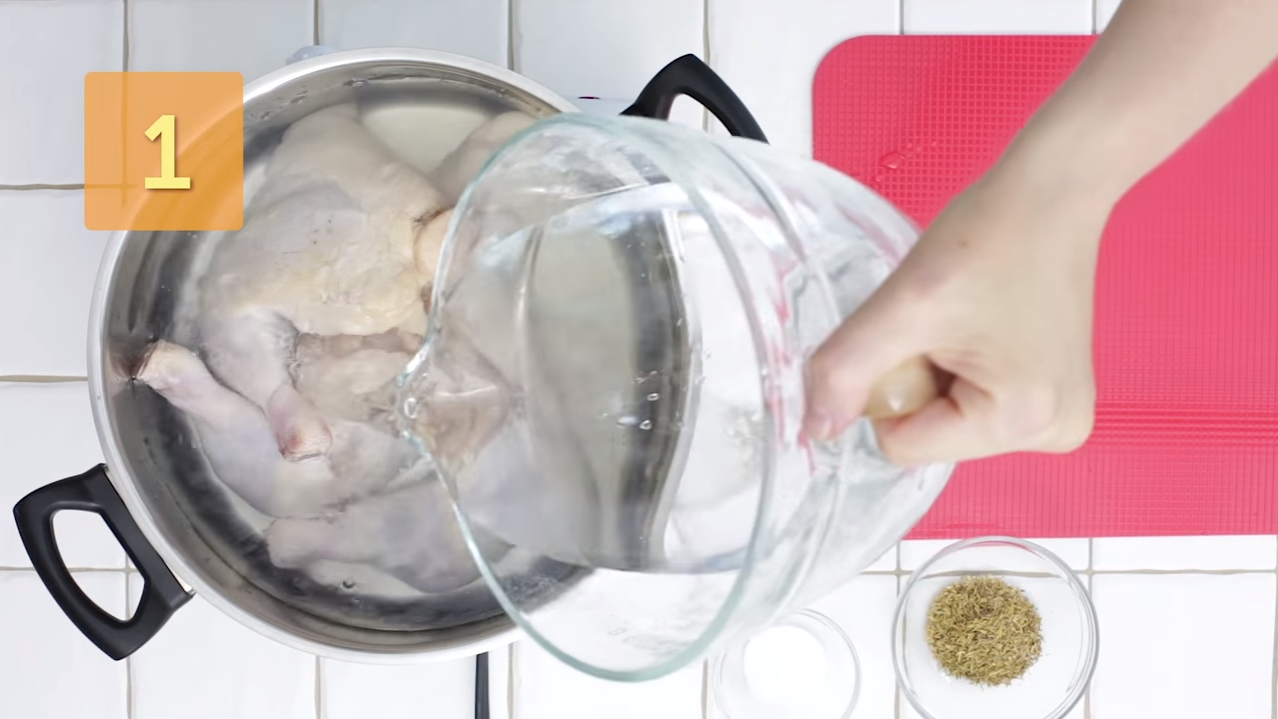
Place the chicken thighs in a pot and cover them with water.
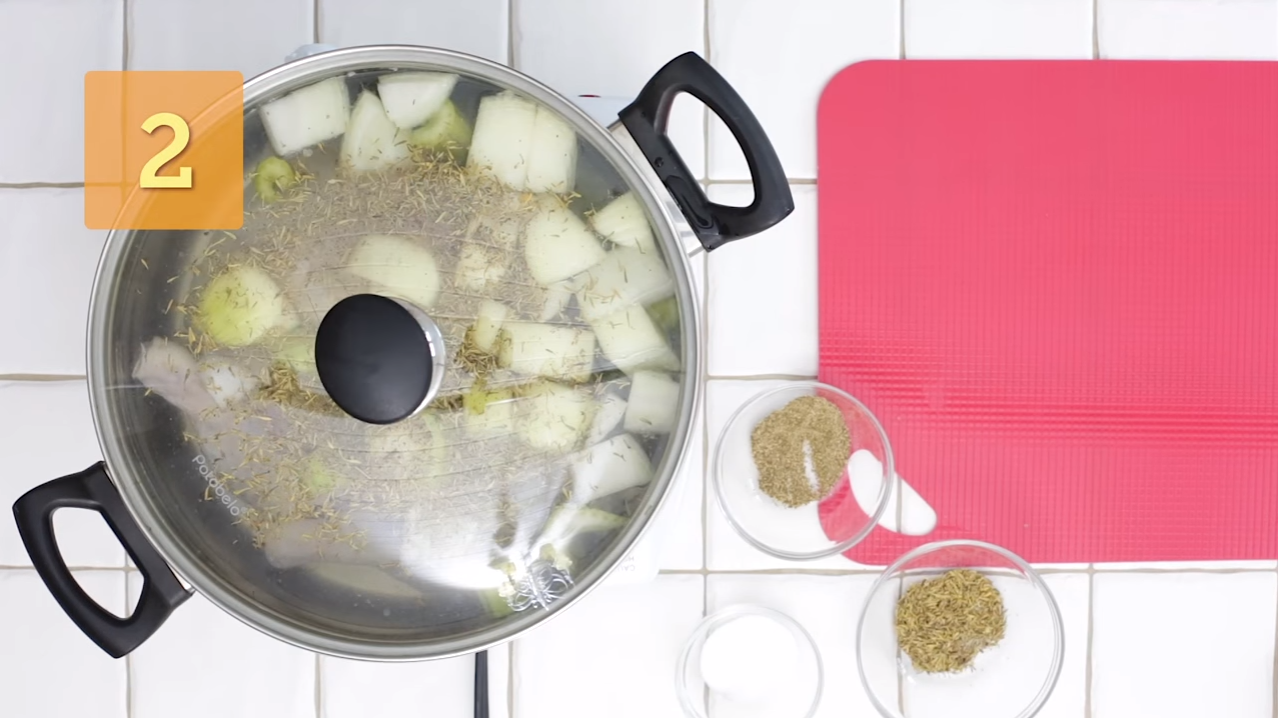
For more flavour, add vegetables like celery and onions, as well as seasonings like salt, pepper and thyme.
-
Step 2
Cover and bring to a boil. Lower the heat and simmer for about 1 hour. The cooking time will depend on the size of the pieces.
Like for oven-baked chicken, make sure the meat is cooked through. Use a meat thermometer to check that the internal temperature has reached 165°F (74°C). Or check that the white meat comes apart easily.
-
Step 3
Once cooked, remove the chicken from the water. Let cool a bit. When it’s cool enough to touch, remove the skin and bones.
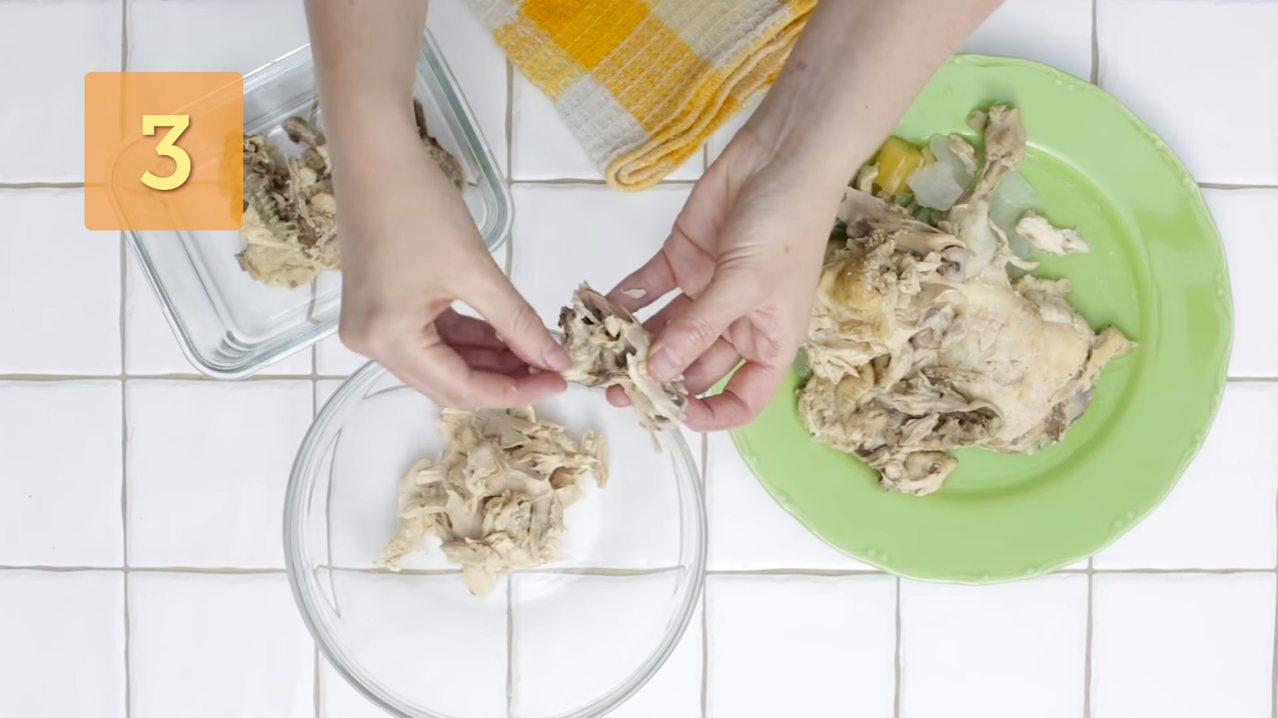
With this technique, you get ready-made chicken stock! Just strain and put it in the fridge. The cooked chicken and stock will keep in the fridge for 3 to 4 days and in the freezer for up to 3 months.
Recipes that use chicken
- BBQ Chicken Thighs with Roasted Potatoes
- Quick Mini Chicken Pizzas
- Roast Chicken with Rutabaga and Grapes
- Curry Chicken Fried Rice
- Asian-Style Cabbage Stir-Fry with Ground Turkey
- Turkey Meatballs in Tomato Sauce
- Chicken Nuggets
Or replace the hamburger meat in these recipes with chopped chicken:
Recipes that use homemade chicken broth
- Canadian Beef Stew with Cabbage and Root Vegetables
- Moroccan Chickpea Stew with Polenta
- Beef Stew
- Jambalaya-Style Barley Casserole
- Pork Chops in a Cranberry-Pear Sauce
And soups, of course!
- Chicken Noodle Soup
- Hearty Spinach and Lentil Soup
- Hearty Pasta e Fagioli Soup
- Vegetable Soup
- Cabbage and Ginger Soup
- Potato and Corn Chowder
